Difference between revisions of "How to Build Synced Multi-Camera Video"
m |
|||
| Line 1: | Line 1: | ||
== Introduction == | == Introduction == | ||
| − | To process video recorded by action cameras (or other standalone camcorders) in [[iPi Mocap Studio]] you have to create multi-camera [[.iPiVideo File Extension|.iPiVideo]] file from separate MP4/MOV/AVI/MPEG video files recorded by these cameras | + | To process video recorded by action cameras (or other standalone camcorders) in [[iPi Mocap Studio]] you have to create multi-camera [[.iPiVideo File Extension|.iPiVideo]] file from separate MP4/MOV/AVI/MPEG video files recorded by these cameras: |
<center>[[File:build-combined-video-workflow-schema.png|1000px|link=]]</center> | <center>[[File:build-combined-video-workflow-schema.png|1000px|link=]]</center> | ||
| Line 7: | Line 7: | ||
== Preparations == | == Preparations == | ||
| − | + | First of all, copy MP4/MOV/AVI/MPEG video files from each camera to computer. | |
There are two hints here: | There are two hints here: | ||
Revision as of 07:01, 15 August 2018
Contents
Introduction
To process video recorded by action cameras (or other standalone camcorders) in iPi Mocap Studio you have to create multi-camera .iPiVideo file from separate MP4/MOV/AVI/MPEG video files recorded by these cameras:

Preparations
First of all, copy MP4/MOV/AVI/MPEG video files from each camera to computer.
There are two hints here:
- It's better to use microSD-card reader to copy files because it provides much higher speed of this operation in comparison with USB-connection.
- Two distinguish files from different cameras it is convenient to create sub-folder for each camera. And name of such sub-folder should contain label/nickname of corresponding camera.
For example: if you have cameras with labels/names "cam1", "cam2", "cam3" and "cam4" then you can create the following structure of folders and files on your local disk:
YYYY-MM-DD-session-name
   cam1
      video files from "cam1" camera
   cam2
      video files from "cam2" camera
   cam3
      video files from "cam3" camera
   cam4
      video files from "cam4" camera
- Alternatively you can rename video files right after copying (or even during copying) to local disk while you're remembering from what camera these files are. Such approach is used in the following sample: Sample Videos and Projects (four GoPro).
Overall Procedure
- Run iPi Recorder and click on Build Combined Video button in toolbar on home screen.

- For each camera:
- add video from this camera by clicking Add Video button in toolbar — see mark (1) on screenshot below
- choose this camera by clicking on image from this camera — (2)
- in the left panel (3) set camera parameters by clicking on Load button in camera parameters section — (4)
- choose appropriate .iPiCam file you saved for this camera during camera optics calibration
- click button Edit in sync frame section of left panel (3) and choose frame with synchronization event — (5)
- for details see below
- Now videos from all cameras are added and required parameters (camera parameters and synchronization frames) are defined for them.

- Evaluate background:
- using markers (6) and (7) select interval on timeline where there is no actor and moving objects (the length of this interval should be about a couple of seconds)
- alternatively, to set interval on timeline you can use controls in section INTERVAL of toolbar — (8)
- click Evaluate Background button in toolbar to evaluate background for all cameras simultaneously from selected interval on timeline — (9)
- alternatively:
- you can evaluate background for each camera separately using button Edit... in section background in left panel (3) — (A)
- or you can even load background from file if you've already evaluated it before from different video — (B)
- for details see below
- Now everything is ready to be saved into destination .iPiVideo file:
- using markers (6) and (7) on timeline or controls (8) in toolbar, select fragment you want to save to result video
- for calibration video it could be fragment where glowing marker is visible
- for action video it could be fragment with required action sequence or movement
- or you can save the whole video if you're not sure what fragment exactly will be used for processing in iPi Mocap Studio
- click Save Combined Video button in toolbar and choose destination file name — (C)
- also before saving you can set compression quality for destination video — (D)
- but in most cases default value (70%) works very well providing good balance between image quality in result video and size of this video
- using markers (6) and (7) on timeline or controls (8) in toolbar, select fragment you want to save to result video
- After all you can open result .iPiVideo file in iPi Mocap Studio and process it.
Important Aspects
Now let's discuss some aspects in details:
Cameras and Their Parameters
- It is strictly mandatory to add cameras in one and the same order for scene calibration and action videos. In other case results of scene calibration will not match action video(s). By the way, you can use drag-and-drop to reorder cameras.
- Don't forget to apply camera parameters by loading them from appropriate .iPiCam file. Remember that this .iPiCam file must be for exactly the same camera item and for exactly the same resolution and view/FOV settings (FPS may differ). The thing is that camera optics parameters significantly vary from item to item (even when all items are of one and the same model) and depends on resolution and view/FOV settings.
- You can adjust scale of undistort filter right in Combined Video Builder:

- But be aware that this scale must be one and the same for scene calibration and action videos (per camera, of course). For this reason use this feature with great care.
Synchronization
To build combined video source videos from separate cameras must be synchronized. Current version of Combined Video Builder supports only manual synchronization based on some short/sharp visual event visible in all cameras simultaneously. Frame where such event takes place is called as sync frame. That is, you have to set sync frame for each source video:

We recommend to use the following visual events for synchronization:
- the moment when you turn on/off flash light (or Sony Move)
- manual firing of external on-camera flash
For details see How to Record Video with Action Cameras#Synchronization Event.
Example of synchronization using external on-camera flash in manual mode:
| Prev. frame (before sync) | Sync frame | Next frame (after sync) | |
| cam1 | 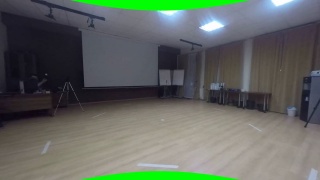 |  | 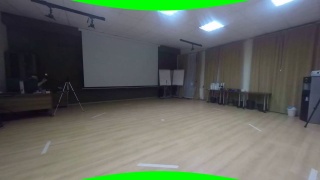 |
| cam2 | 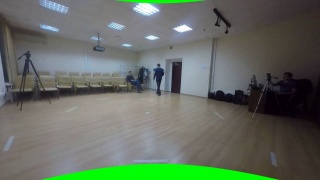 | 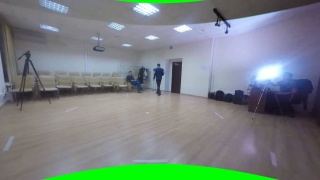 |  |
| cam3 | 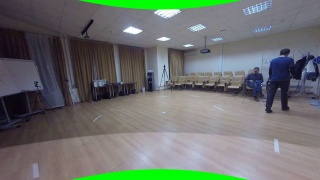 | 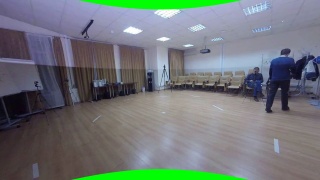 | 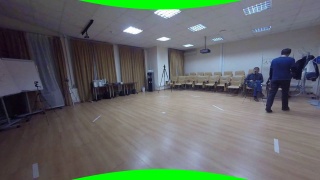 |
| cam4 | 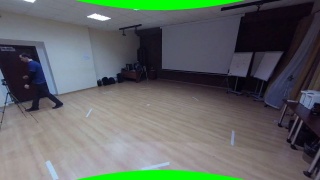 |  |  |
How to set synchronization frame:
- Select required camera and click Edit... button in sync frame section of left panel — see mark (1) on screenshot below.
- Additional tab SYNC FRAME opens with single video in it.
- Using timeline (2) choose frame with synchronization event.
- it is convenient to use buttons Previous Frame and Next Frame to position precisely on required frame — see marks (3) and (4) on screenshot below
- After that click Set to Current Frame button in toolbar — (5).
- Now switch back to BUILD tab by clicking on it — (6).
- Also, you can adjust synchronization frame right in builder using buttons (7) and (8).
- Alternatively, you can set synchronization frame to current frame visible in BUILDER using button Current Frame — (9).

Background
And the last but not the list thing in the way to combined video is background evaluation. Background is an image of clear scene without actors and moving objects:

There are three ways to evaluate background:
- Simultaneously for all cameras
- this method is the easiest and described above in section #Overall Procedure
- but it requires that clear scene is simultaneously visible in all cameras which can be problematic to achieve in real life conditions
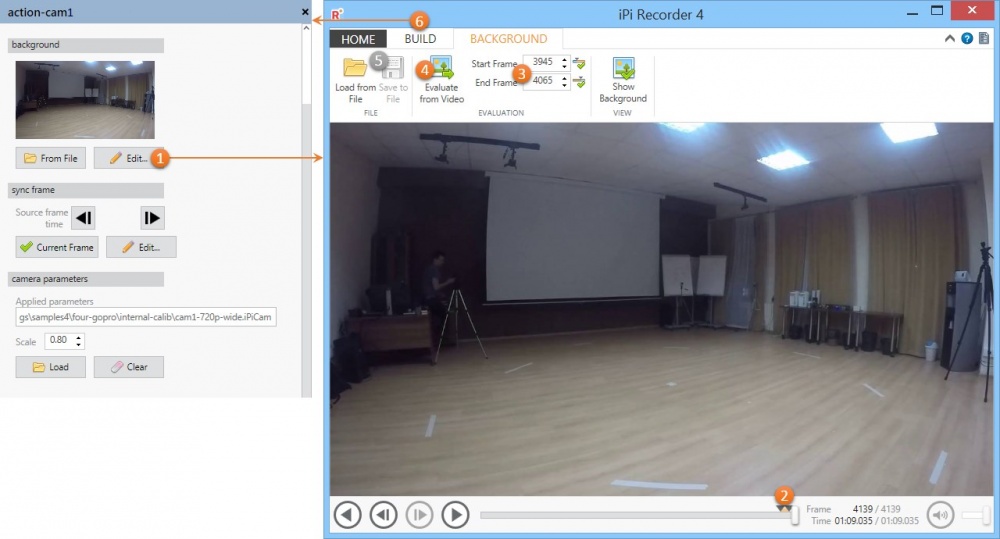
- For each camera (source video) separately
- select required camera and click Edit... button in background section of left panel — see mark (1) on screenshot below
- additional tab BACKGROUND opens with single video in it
- using triangles (2) on timeline or controls (3) in toolbar, select interval on timeline where there is no actor and moving objects (the length of this interval should be about a couple of seconds)
- after that click Evaluate Background button in toolbar — (4)
- optionally you can save result (evaluated background) to file on disk to use later with different videos (see below) — (5)
- now switch back to BUILD tab by clicking on it — (6)
- Or you can evaluate background based on other video, save it to file and then just load it when you need background for appropriate camera.
In any case it is worth to check background quality after evaluation using Hide Background button in toolbar of Combined Video Builder:

Sample
You can use the following sample videos to train in this subject without need to record your own videos: Sample Videos and Projects (four GoPro).